Thursday, July 26, 2018

Kitchen Makeover Part 2: Priming


After prep, it's Primer step time!

I’ve read different advice about what primer to use and how many coats to do – we ended up using the Benjamin Moore Advanced primer (thanks coupon for making this more affordable!), but I’ve heard that many use Kilz as well.  We did just one coat of primer and then two+ coats of paint, some areas like the cabinet door detailing and the big flat sides needing a third coat than others.  I think next time I would do two coats of primer first, then two coats of paint.  Maybe I’ll try that in the bathroom upstairs…

 Materials:

  • Primer paint
  • 2.5 in angled brush
  • 3 or 4 in foam roller
  • 1 in angled brush (best for those grooves, or a 1 in foam roller could work, if they make those)
  • paint tray
Steps:
  1. Mix up the primer, either with the stick they provide, or by swinging it around so you hear the paint moving in the can like I do, then pour out into your trays
  2. Using a brush, cut into the corners of the backs of the doors, then roll the flat surfaces.
    1. If you have two people you can have one person doing all the cutting and one person rolling, but if solo, i'm sure there are debates on whether it's better to do all of the corners then all of the rolling, or do corners and then rolling for the first door then move on to repeat on all the other doors.  I like to finish with the brush, then use the roller
    2. Paint the back of the doors, then the cabinet bases, and then check the backs to see if they're dry (if not, go have some iced coffee and watch a tv episode), once dry flip so the front is up and paint the front 
    3. Watch out for drips!  Smooth those suckers out as soon as you see them, and go back around with a brush to catch any you didn't notice.  The fronts of our doors have a deep inset and drips or puddles liked to form on the edges of those.  Also watch out for drips on the sides over onto the front.  All this means: take your time!
    4. One coat of primer on everything with just me working took about 5 hours 
  3. Allow everything to dry overnight.  
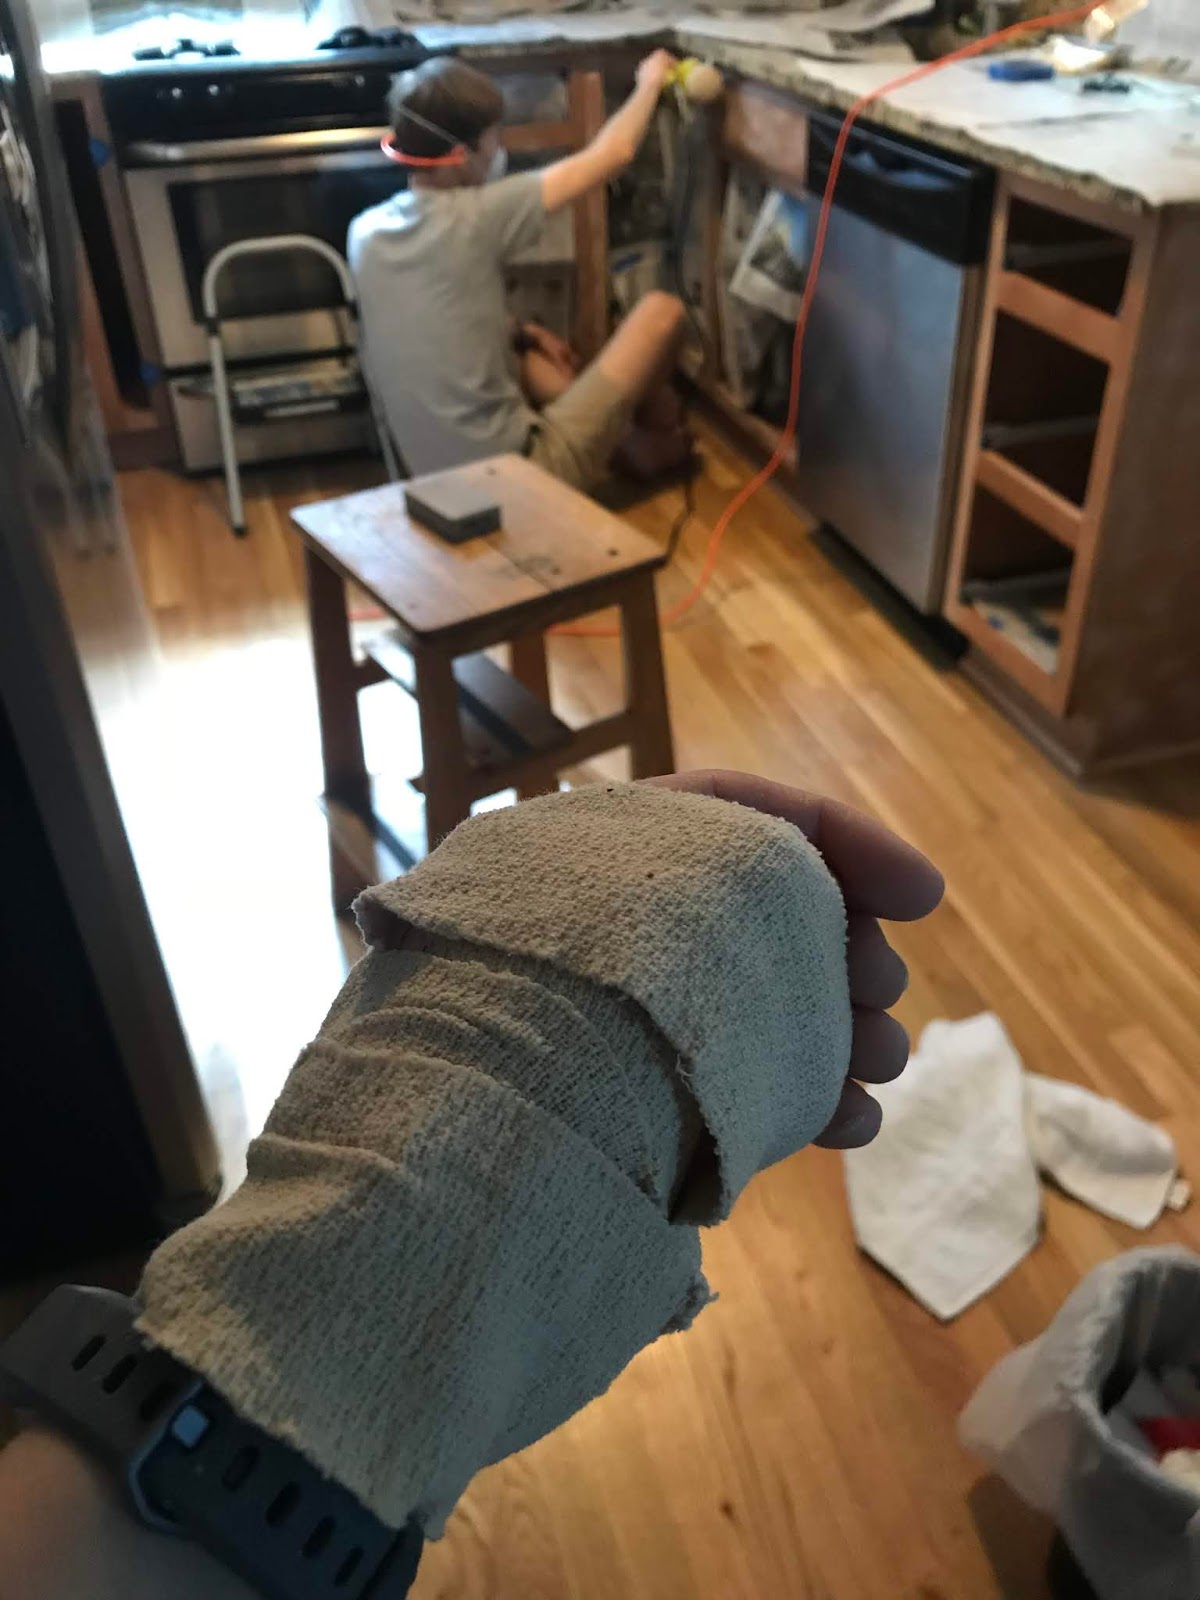
Then, like I said I would suggest doing a second coat of primer on everything if I were to do this again.  We, wanting to get this done, went straight to paint time, which I think meant the whole thing took longer (plus the wrist/thumb sprain, plus going out of town for the weekend, etc added time too). 

The worst part is living with a barely functioning kitchen, which is why it's great to do this in the summer when a) I'm off work (teacher bonus), and b) you can grill everything, but remember, that humidity does make paint take longer to dry.

On to Painting...

Wednesday, July 25, 2018

Kitchen Makeover - Part 1: Prepping and Sanding

 The kitchen of this house was small and dark when we bought it, separated from the dining room with a half bath, and facing north and west, the northern side darkened by the screened porch, and the west window getting only good afternoon light until the sun is blocked by the house next door.  With the medium brown cabinets going all the way to the ceiling, it felt like a cave to me, quite claustrophobic.
The photo from the listing looks great...especially with all that extra light!
View from the dining room to the kitchen pre-renovation

During renovations before moving in, we moved the half bath over into the former den to open up the kitchen to the dining room and added a peninsula.  This really opened up the room, but when standing in the middle of the kitchen, it still felt dark to me.  I’ve always loved white bright kitchens, especially with Shaker cabinets, and while refacing the cabinets with different doors is out of the question right now financially, we could definitely make them white. They're cheap builder grade cabinets put in during the 2012 flip of the house, but at least they're mostly real wood.


A normal afternoon amount of light...still so dark!
I read several blog posts and websites about painting kitchen cabinets and the most recommended paint was the Benjamin Moore Advance cabinet paint because it has the self-leveling and dries the hardest, so that’s what we went for.  The other most recommended piece of advice was that sanding was super important, but few sites really explained what they meant by that.  Commonly they said to rough up the finish, and don’t take the color off.

I did find one helpful video that showed the difference between not sanded and the right amount of sanded, so that’s what we attempted with our Ryobi hand sander and the sanding blocks, starting with lowest grit, about 100.  Everything that will get paint needs to be sanded, even the little crevices so we had some normal sand paper on hand for that, which was really helpful for baseboards and the like.

Doors off, drawers out, ready for protective paper and sanding

Laid out (some on 2x4s, some on dixie cups) and sanded down
Sanded and dusty!

Sanded, vacuumed, and wiped down - no shiny surface left!
Once prepped (clean with TSP, remove all hardware - don’t assume you can paint around it), sanded and then vacuumed and wiped down with tack cloth, everything was ready for primer.

Like a recipe, it goes like this:

Materials: 
  • Paper, pencil, post-its
  • TSP cleaning solution
  • 2 sponges
  • 2 buckets
  • rubber gloves
  • paper towels
  • screw driver (to take off hinges and handles)
  • newspaper
  • painters tape
  • drop cloth
  • mask
  • 80-120 grit sand paper (or blocks, or an electric sander if you have one)
  • Dixie cups (to raise up the doors, easier for edges than the 2x4s)
  • vacuum
  • tack cloth
Instructions:
  1. Diagram the room and number the cabinets on both the diagram and with post-it's on the cabinet doors
  2. Make up your TSP solution and scrub all parts going to get painted to get all the gunk off
    1. We found with two people it was easiest for one person to wash with TSP first, then the other followed behind with fresh water and cleaned the TSP off
  3. Remove the doors and drawers from the cabinets and set out, the best is up on overturned Dixie Cups over top of plastic sheeting or a drop cloth
  4. Remove hardware and hinges from the doors/cabinets and set aside
    1. Now is the time to patch any holes or imperfections, like if you're going to seal seams between cabinets, or change handles/hinges and need different screw holes.
  5. Tape newspaper inside of the cabinets to try to keep as much dust and paint out as possible
  6. Sand everything that needs to be painted - this will be dusty so it's best to wear a mask to protect your lungs
    1. You want to sand to get the shiny surface off, but not so deep that it takes the color off
    2. For our small kitchen this took about 2 days of working 12-6, minus the in between time for me injuring my thumb/wrist (be careful!)  
      A self bandage until the brace arrives from Amazon.
  7. Vacuum everything to get up all that dust, preferably with a shop vac, but a regular one would work too
  8. Wipe everything with tack cloth - we ended up cutting the tack cloth in squares so that it would last longer
  9. Ready to prime!  (See Part 2)


Tuesday, July 10, 2018

A Custom Pantry

When we bought the house there was a bathroom between the kitchen and the dining room, leaving about 30" or less to walk between the fridge and the bathroom corner, and no sight lines, so during our renovations, we had the bathroom moved into the formerly closed in porch that ended up having to be completely redone.  That's a whole 'nother story.


Tape on the floor marks the future peninsula
 It's not a huge kitchen, kinda hard to have more than 2 people working in it, and there's no real pantry so we put a small bookshelf next to the fridge.  It worked but wasn't pretty and hugely functional.  Without the light switches, we could have bought a cabinet, but because there are light switches next to the basement door, we only have 23" for the pantry to give the fridge an inch or so to breathe.  I forgot to take a before picture.  :-( 

I did a few searches online for a 23" or 22" pantry, but they were all very short or very expensive, neither of which we wanted so that left to build our own.  I've been reading Young House Love for years now and was inspired by their pantry build at their beach house, and then did some more research finding a great reference from Woodshop Diaries Pantry build

First thing is to draw up some plans and think through the whole thing, then invite your parents down for a weekend to help with the building.  :-)  Young House Love had the great idea to plan out the cuts on the plywood and get as much cut at Home Depot as you can.  That's really important when you have a small car like us.


We used 3/4" thick cabinet grade plywood for the sides and shelves, and then a 1x4" for the base board front and back.  Another cool thing I learned from Young House Love was about drilling pocket holes for screws which look so much prettier and professional.  For that we picked up a Kreg Pocket Jig, basically a guide for the drill with a special bit that makes the holes. 

Image result for pocket hole
Source
So on Friday afternoon CP and I went to Home Depot to get the supplies.

  • 2 sheets of 3/4" thick cabinet grade plywood - did some cuts there
  • 1x4" common wood board
  • kreg jig pocket hole guide
  • 90ยบ corner brace
The only thing we forgot was the 1/4" thick piece of plywood for a back, but now we're reconsidering that.

Saturday morning we made the rest of the cuts we needed, and then tested how it all fit together.
Then drill all the pocket holes - 3 on each side of each shelf (make sure your drill batteries are charged!), then screw them all together, starting at the top and working your way down, which is much easier when the pockets are on the bottom of the shelves.  Make sure everything is level and square so that it will be stable - this is where extra hands and clamps are so helpful.
Once screwed together, bring it up to make sure it fits, and have Mom take the obligatory picture!

Now to paint it with the rest of the kitchen, and figure out doors...

Tuesday, July 3, 2018

Oatmeal Raisin Muffins #dairyfree

For our summer curriculum project we're always tasked with bringing in something to eat so we can all snack while working.  I wanted to make something I could eat, but that was also not sugar heavy so I found these Oatmeal Raisin Muffins from The Kitchen Magpie and adapted them to be both dairy-free and nut-free (meaning no nut-milks!).  I also doubled the recipe so that we had some extra for home. 


4 eggs
1-1/3 cup brown sugar
1 cup vegetable oil
1 cup vegan buttermilk (1 Tbsp vinegar, fill to 1 cup with soy milk, mix and let stand 5 minutes)
3 cups flour
2 cup rolled oats
2 tsp baking powder
1 tsp baking soda
2/3 tsp salt
1 cup of raisins 

Preheat the oven to 400ยบ and then make your vegan buttermilk - I used soy milk because a) there was also someone with a nut allergy in the group, and b) it's thicker than other DF milks.  Grease your muffin pans well (unless you're using paper muffin cups, but why waste those when greasing well works).  In a large bowl, whisk the eggs, brown sugar, oil and vegan buttermilk together.  Add in the flower, oats, baking power, baking soda and salt and mix well.  Mix in the raisins.  Divide the batter evenly between the muffin pans, using a 1/3 cup scoop worked well for this, then bake for about 20 minutes (less time if you didn't double it).  Slide a knife around the edges to help loosen them, then cool on wire racks and enjoy!


Yum!

They even save well in the freezer, just pop into the microwave for 30 seconds, dab on some Earth Balance butter and enjoy!

Dairy-free Lemon Bars with Raspberry Sauce #dairyfree


Image result for The Best Recipe

We've started a Dinner Club with some friends and for our last dinner party in June we made some Lemon Bars with Raspberry Sauce to help start the summer!

I found I have the Cook's Illustrated Best Recipe Cookbook and am really enjoying it because they discuss all the trials they went through to get the best recipe they can.  Perfect for Foodie Nerds!  Luckily they had a lemon bar recipe in there so we started with that as our base and then just had to adapt it to be Dairy Free for me. 

Start by making the crust - for a 13x9 pan I had to make a bit extra, but I also like a thicker bottom than the 1/4 inch thick they suggested.  Using the food processor here makes it so easy!  

Prep your pan - grease it, then lay a strip of parchment paper so it goes up the two sides, then dot it with butter and lay a second strip the opposite way so the other two empty sides get covered too.  (We messed this up... it still works, you just want to make sure things don't stick to the pan.)

Image result for 13x9 parchment paper cover
Source

1.5x recipe
2.62 cups all-purpose flour (2-1/2 cup plus 2 tablespoons)
1 cup powdered sugar
3/8 cup cornstarch
1 tsp salt
18 tablespoons Earth Balance vegan butter

Pulse the dry ingredients a few times, then add the vegan butter and quickly blend (10 seconds) then pulse until it's all pale yellow and looks like coarse cornmeal.  Sprinkle into the pan and press the bottom to your desired thickness and then up the sides about a half inch.  Refrigerate for 30 minutes, preheat the oven to 350ยบ halfway through that (or however long your oven takes to preheat), then bake for 20 minutes until golden brown.  Because mine was thicker, it took longer to bake, about 35 minutes.  While it's baking, make the filling.

6 large eggs, beaten
2 cups sugar
4.5 Tablespoons all-purpose flour (a 1.5 T measuring spoon is great here!)
3 rounded teaspoons lemon zest
1 cup lemon juice (took 5 lemons)
2/3 cup soy milk
1/4 tsp salt

Whisk eggs, sugar and flour together, then stir in lemon zest, juice, milk and salt and blend well.   Pour into the warm crust, reset the oven to 325ยบ and then bake for about 20 minutes until it feels firm on top.  Cool on the counter and then lift out with the parchment paper and slice.


We had extra filling so I poured it into a bread pan - wrong container.  It took forever to bake, the bars with the crust ended up taking about 30 minutes, then it took an extra 15 for the bread pan.  Should have used a 9x9 so that it would be a similar depth to the 13x9 pan.


For a topping, we sprinkled it with some extra powdered sugar (which melted by the time we arrived, whoops!), scattered some fresh raspberries, and made a raspberry sauce from The Gunny Sack.  

1/4 cup water
1.5 containers of fresh raspberries
1/3 cup sugar
1 tbsp freshly squeezed lemon juice
2 tbsp cold water
2 tbsp cornstarch
1/2 tsp vanilla
dash of salt

Put everything minus the vanilla and salt into a small sauce pan, cook over medium heat for about 5-7 minutes and stir occasionally so the raspberries start to break down.  It was a bit thicker than I wanted so next time I would skip the cornstarch, but if you wanted to add it you would mix the cornstarch and cold water together, then pour in and continue to cook until it's thickened.  Once finished, remove from heat and stir in the vanilla and salt.   Allow it to cool a bit, then put in a container for transport or storage.

These were delicious, and the leftover curd was a delightful addition.
Enjoy!

DF Chocolate Birthday Cake

We went to Ohio this weekend to visit my in-laws for my MIL's birthday and did a ton of yard work on Saturday and then made cookies and a birthday cake on Sunday.  My MIL requested a chocolate cake with raspberry so I found the "i want chocolate cake" cake from Smitten Kitchen and decided to make it dairy free so I could enjoy it too.  She's the baking queen (her cookies are amazing) so I'm sure it was hard for her to give up her kitchen to the kids for a time.

We made the cake first, doubling the recipe to make two 8 inch rounds:

12 tablespoons of Earth Balance vegan "butter"
1-1/2 cups packed dark brown sugar
4 Tablespoons regular sugar
2 eggs
2 egg yolks
1-1/2 cup vegan buttermilk 
2 tsp vanilla extract
1 cup Extra dark Hershey's cocoa (couldn't find Dutch cocoa in small town Ohio)
2 cups all-purpose flour
1/2 tsp baking soda
1 tsp baking powder
1 tsp salt

Set the over to 350ยบ.  Put parchment paper in the bottom of the cake pans, then grease them.  Make the vegan buttermilk first so it has time to sit, then cream the "butter" and sugars well in a mixer until they're fluffy.  I learned that with Earth Balance you have to extra cream it to make sure it doesn't start to separate on you.  Then add in the eggs, buttermilk and vanilla and mix.  Sift all of the dry ingredients onto a large piece of wax paper, then put the mixer on slow and slowly pour the dry ingredients in, pausing a couple times.  Then pour the batter into the cake pans and bake.  With two pans, it took about 45 minutes to fully bake.  These pulled away from the edges of the pan nicely and were really easy to flip out onto a cooling rack. 


Allow the cake layers to cool completely before frosting - so important!  Once cooled, I sliced the rounded top off the bottom layer so they would stack easily, then used raspberry jam to coat the top of the bottom layer and put the top layer on top.  

Frosting time!
We made the frosting a little early and being a hot summer day, it took the layers a bit longer to cool so the frosting was thicker than I wanted to spread it.  Next time I would start the frosting once the layers are completely cooled and we're ready to put the cake together.

4 oz dark DF chocolate (we used 90% Lindt), melted and cooled
3 cups powdered sugar
1 cup Earth Balance vegan "butter"
pinch of salt
2 Tbsp soy milk - original unsweetened is best here
1 tsp vanilla

Apparently you can just put all of the ingredients into the food processor and mix, but instead of getting another piece of equipment dirty, we decided to use the stand mixer that was already out. 

Melt the chocolate and then let it cool.  (We stuck it in the fridge for a few minutes and kept checking it so it didn't harden back up.)  Cream the "butter" and powdered sugar really well until nice and fluffy.  Then pour in the chocolate and mix, then add the salt, soy milk and vanilla and mix.   Lesson learned, don't add the milk and vanilla to the chocolate first as that will make the chocolate seize up and is much harder to add in.  It still worked out, but would have been easier the first way.

Then frost your cake!  Smitten Kitchen was so right about the small offset spatula - it made spreading the frosting so much easier than I've ever done before. 


Happy Birthday!