 |
| The photo from the listing looks great...especially with all that extra light! |
 |
| View from the dining room to the kitchen pre-renovation |
During renovations before moving in, we moved the half bath
over into the former den to open up the kitchen to the dining room and added a
peninsula. This really opened up the
room, but when standing in the middle of the kitchen, it still felt dark to me. I’ve always loved white bright kitchens,
especially with Shaker cabinets, and while refacing the cabinets with different
doors is out of the question right now financially, we could definitely make
them white. They're cheap builder grade cabinets put in during the 2012 flip of the house, but at least they're mostly real wood.


 |
| A normal afternoon amount of light...still so dark! |
I read several blog posts and websites about painting
kitchen cabinets and the most recommended paint was the Benjamin Moore Advance
cabinet paint because it has the self-leveling and dries the hardest, so that’s
what we went for. The other most
recommended piece of advice was that sanding was super important, but few sites
really explained what they meant by that.
Commonly they said to rough up the finish, and don’t take the color off.
I did find one helpful video that showed the difference
between not sanded and the right amount of sanded, so that’s what we attempted
with our Ryobi hand sander and the sanding blocks, starting with lowest grit,
about 100. Everything that will get
paint needs to be sanded, even the little crevices so we had some normal sand
paper on hand for that, which was really helpful for baseboards and the like.
 |
| Doors off, drawers out, ready for protective paper and sanding |
 |
| Laid out (some on 2x4s, some on dixie cups) and sanded down |
 |
| Sanded and dusty! |
 |
| Sanded, vacuumed, and wiped down - no shiny surface left! |
Once prepped (clean with TSP, remove all hardware - don’t
assume you can paint around it), sanded and then vacuumed and wiped down with
tack cloth, everything was ready for primer.
Like a recipe, it goes like this:
Materials:
- Paper, pencil, post-its
- TSP cleaning solution
- 2 sponges
- 2 buckets
- rubber gloves
- paper towels
- screw driver (to take off hinges and handles)
- newspaper
- painters tape
- drop cloth
- mask
- 80-120 grit sand paper (or blocks, or an electric sander if you have one)
- Dixie cups (to raise up the doors, easier for edges than the 2x4s)
- vacuum
- tack cloth
Instructions:
- Diagram the room and number the cabinets on both the diagram and with post-it's on the cabinet doors
- Make up your TSP solution and scrub all parts going to get painted to get all the gunk off
- We found with two people it was easiest for one person to wash with TSP first, then the other followed behind with fresh water and cleaned the TSP off
- Remove the doors and drawers from the cabinets and set out, the best is up on overturned Dixie Cups over top of plastic sheeting or a drop cloth
- Remove hardware and hinges from the doors/cabinets and set aside
- Now is the time to patch any holes or imperfections, like if you're going to seal seams between cabinets, or change handles/hinges and need different screw holes.
- Tape newspaper inside of the cabinets to try to keep as much dust and paint out as possible
- Sand everything that needs to be painted - this will be dusty so it's best to wear a mask to protect your lungs
- You want to sand to get the shiny surface off, but not so deep that it takes the color off
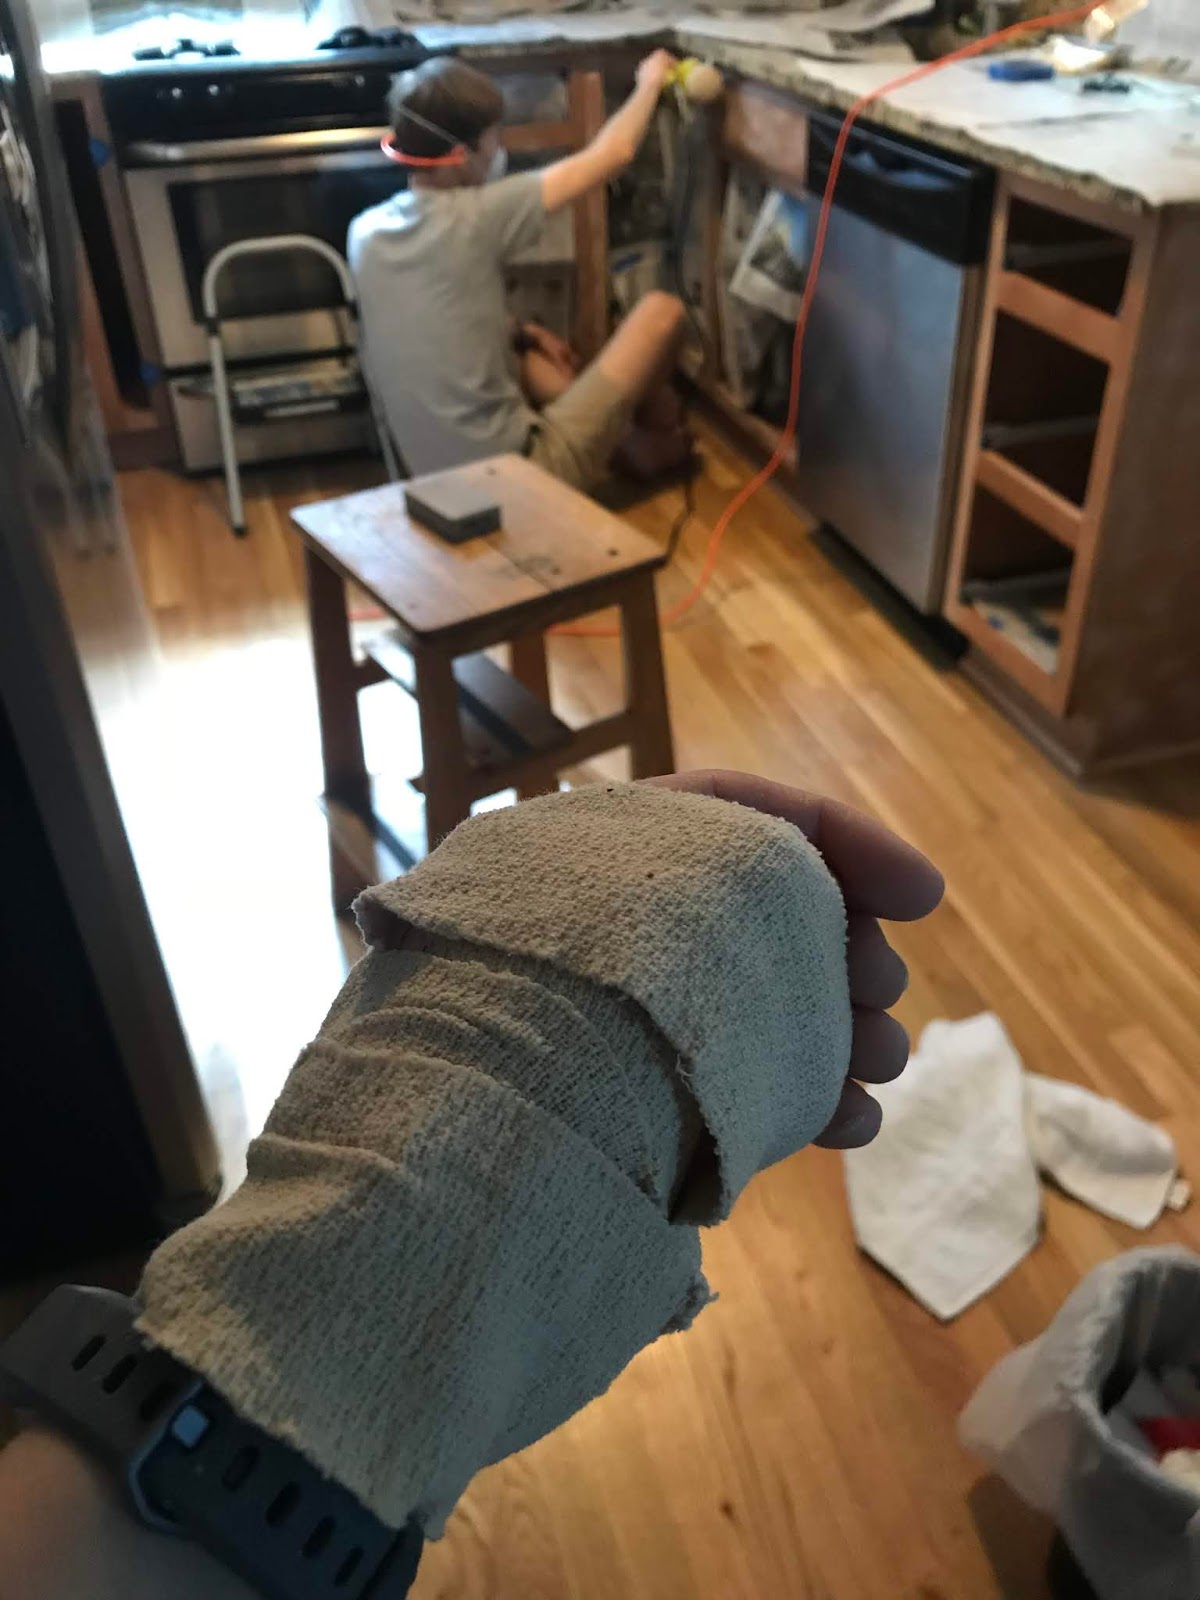
- For our small kitchen this took about 2 days of working 12-6, minus the in between time for me injuring my thumb/wrist (be careful!)

A self bandage until the brace arrives from Amazon. - Vacuum everything to get up all that dust, preferably with a shop vac, but a regular one would work too
- Wipe everything with tack cloth - we ended up cutting the tack cloth in squares so that it would last longer
- Ready to prime! (See Part 2)


No comments:
Post a Comment