 When we bought the house there was a bathroom between the kitchen and the dining room, leaving about 30" or less to walk between the fridge and the bathroom corner, and no sight lines, so during our renovations, we had the bathroom moved into the formerly closed in porch that ended up having to be completely redone. That's a whole 'nother story.
 |
| Tape on the floor marks the future peninsula |
I did a few searches online for a 23" or 22" pantry, but they were all very short or very expensive, neither of which we wanted so that left to build our own. I've been reading Young House Love for years now and was inspired by their pantry build at their beach house, and then did some more research finding a great reference from Woodshop Diaries Pantry build.
First thing is to draw up some plans and think through the whole thing, then invite your parents down for a weekend to help with the building. :-) Young House Love had the great idea to plan out the cuts on the plywood and get as much cut at Home Depot as you can. That's really important when you have a small car like us.


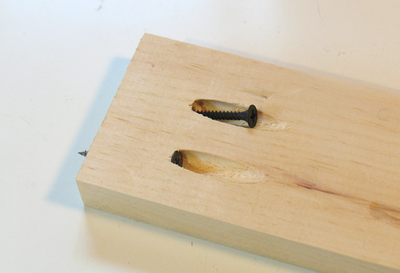
We used 3/4" thick cabinet grade plywood for the sides and shelves, and then a 1x4" for the base board front and back. Another cool thing I learned from Young House Love was about drilling pocket holes for screws which look so much prettier and professional. For that we picked up a Kreg Pocket Jig, basically a guide for the drill with a special bit that makes the holes.
 |
| Source |
- 2 sheets of 3/4" thick cabinet grade plywood - did some cuts there
- 1x4" common wood board
- kreg jig pocket hole guide
- 90º corner brace
The only thing we forgot was the 1/4" thick piece of plywood for a back, but now we're reconsidering that.
Saturday morning we made the rest of the cuts we needed, and then tested how it all fit together.

Then drill all the pocket holes - 3 on each side of each shelf (make sure your drill batteries are charged!), then screw them all together, starting at the top and working your way down, which is much easier when the pockets are on the bottom of the shelves. Make sure everything is level and square so that it will be stable - this is where extra hands and clamps are so helpful.

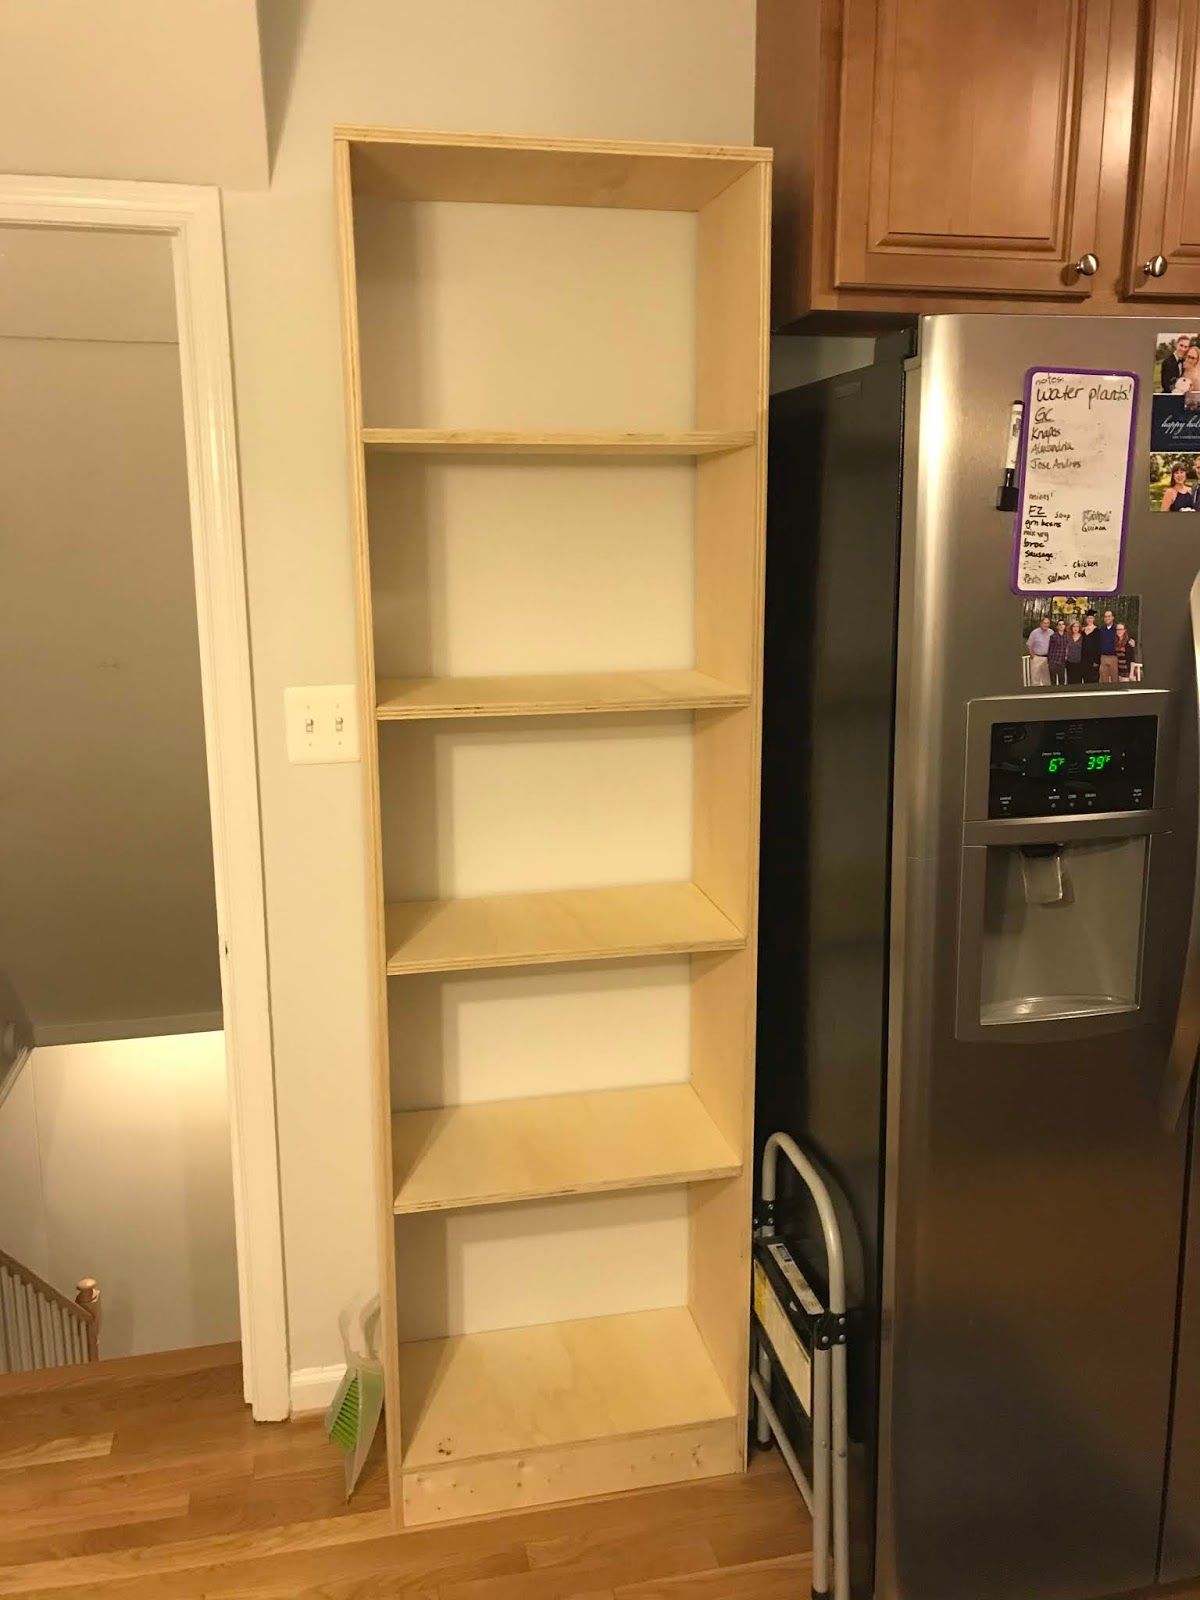
Once screwed together, bring it up to make sure it fits, and have Mom take the obligatory picture!

Now to paint it with the rest of the kitchen, and figure out doors...
No comments:
Post a Comment